Plaster Dust Doesn't Get the Memo: A Post-Renovation Carpet Plan for London Flats
Photo: Charles O'Rear, Public domain, via Wikimedia Commons
The skip has gone. The snagging list is down to three items. The flat finally smells of paint instead of hot dust, and you're starting to think about getting your evenings back. Then you look down at the carpet.
There's a pale grey tideline where the doorway was, a fan of fine white powder beneath the radiator, three thumbprints of silicone near the skirting, and a spot of something eggshell-coloured that definitely wasn't there in September.
Renovation dust doesn't behave like ordinary dirt, and it doesn't respond to the same treatment. Worth understanding why before you reach for anything wet.
Plaster dust is not just dust
Fine gypsum and filler dust is alkaline, hygroscopic and microscopic. It doesn't sit politely on top of the pile — it filters down, settles at the base of the fibres, and works into the backing and underlay. Add a bit of moisture and it dries into something with the texture of weak cement. Walk on it and it abrades the fibres like fine sandpaper.
On top of that you've got the supporting cast: cured silicone, drips of emulsion and gloss, grout haze, tile adhesive, fragments of cable clip, and enough tracked-in grit from the front garden to start a quarry.
Treat the marks first, vacuum second
This feels wrong, because vacuuming is the obvious first move. Don't. Running a vacuum over a soft silicone smear or a half-dry paint blob drives it deeper into the pile and spreads it sideways, and you'll spend the rest of the afternoon chasing your own mistake.
- Emulsion splashes. Once fully dry they go brittle. Pick them off with a fingernail or a plastic scraper, then dab with a barely damp white cloth from the outside of the mark inwards. Warm water, blot, don't rub.
- Gloss, eggshell, undercoat. Water won't touch these. White spirit on a cloth, tested somewhere discreet first. Oil-based paint on a wool carpet is a job for someone with insurance, honestly.
- Silicone and mastic. The worst of the lot. It repels water, so shampoo skates straight off it, and it grabs every particle of dust in the postcode. Let it cure completely, freeze it with an ice cube in a sandwich bag, crack it, and pick it out gently. No blades at a right angle.
- Grout, adhesive and filler. Gritty and mildly alkaline. Dry vacuum first, wet only afterwards.
- Expanding foam. Cure, trim, then call it in. That one doesn't come out with patience.
Dry before wet — every single time
The classic post-renovation error is hiring a wet machine and shampooing the top layer of plaster dust. All you achieve is converting powder into slurry, which then gets pushed into the backing and the underlay, and dries into a stiff, crunchy ring right where you started. In a London flat with single-glazed sash windows and nowhere to put a dehumidifier, that ring can take two days to appear and months to forgive.
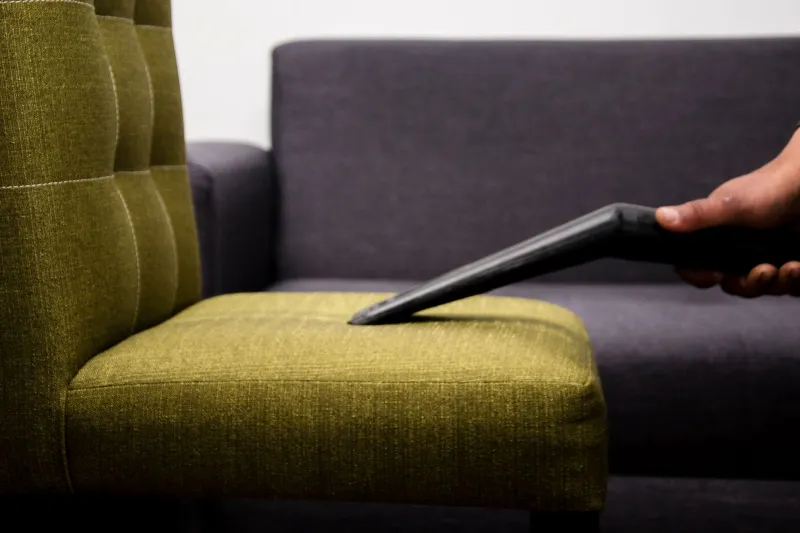
Vacuum properly first — a machine with a decent filter and a crevice tool for the gripper edges — then decide whether wet cleaning is even needed.
The room-by-room order
Sequence matters more than product. Work furthest from the front door to nearest, and the hallway goes last.
- Clear and bag. Everything out, including the screws, offcuts and cable clips that mysteriously migrate under furniture.
- Edges and gripper first. Grit collects along the gripper rod, and that's exactly where fibres wear through. Crevice tool, low power, slow passes.
- Bedrooms and back rooms next. Furthest from the exit, so they get done while the rest of the flat is still clean enough to walk through.
- Living room after that. Check the patch under the sofa and the bed — undisturbed areas hold the most dust, and often the smell.
- Hallway last. It's your route in and out; it will be re-dirtied by every bag you carry. No point doing it first.
- Stairs top to bottom. Always. Dust falls downwards.
- Cupboards and fitted wardrobes. Builders love a cupboard. Dust settles on top of them and rains down for weeks afterwards.
Dry extraction or steam?
Once the solids are gone, you've got a choice of method — and for post-renovation work, dry wins more often than people expect.
Low-moisture dry extraction (compound or crystallising methods) lifts fine dust without adding water. Nothing sets, nothing shrinks, and you can walk on it within the hour. It's the sensible option for wool, for anything natural like sisal or seagrass, and for flats where drying time is basically theoretical.
Hot water extraction is excellent for grease, general soiling and a deep refresh, but plaster residue plus water is a bad combination, and wool can shrink or brown if it's over-wetted. In a cold, humid London winter, twenty-four hours of drying is optimistic.
The pragmatic sequence for most renovated flats: dry vacuum, dry extraction, targeted spotting, then a light hot water pass only on the heavy traffic lanes if they still need it.
When cleaning stops being the answer
Sometimes the honest advice is to put the money towards new carpet. Signs it's over:
- The backing has delaminated, or the carpet ripples when you walk on it.
- The underlay is compacted, musty, or has had a slow leak sitting in it.
- Foam backing has turned to powder, so every vacuum pulls more of it out.
- The wool has already been over-wetted once and shrunk or browned.
- Paint covers more than a small patch — repainting pile is not cleaning.
- The carpet is older than the kitchen you just replaced, with pile crushed flat along every walkway.
If you're staying put, price a clean against the cost per square metre of something new before you decide. And if you're laying fresh carpet, keep it covered until the plaster has genuinely cured — fresh walls release moisture for weeks.
The last ten per cent
Change the vacuum bag or filter before the final pass, or you'll be blowing fine dust back into the room. Wipe the skirting and the radiators before the last vacuum, not after. Ventilate hard for a couple of days. And book the clean-down after the decorators have finished, not between trades — otherwise you'll pay twice.
If you'd rather spend that weekend somewhere other than on your knees with a scraper, we handle post-renovation carpet rescue across London flats and houses. Send us a photo of the worst patch and we'll tell you honestly whether it's a clean or a replacement.